
Auto-Cam Pro
As easy as A-C-P!
Thanks for your interest in Auto-Cam Pro from Random Labs!
✦✦✦ Leave me an honest review on the marketplace and get a free copy sent to a friend / alt! ✦✦✦
————————————————————————————————————
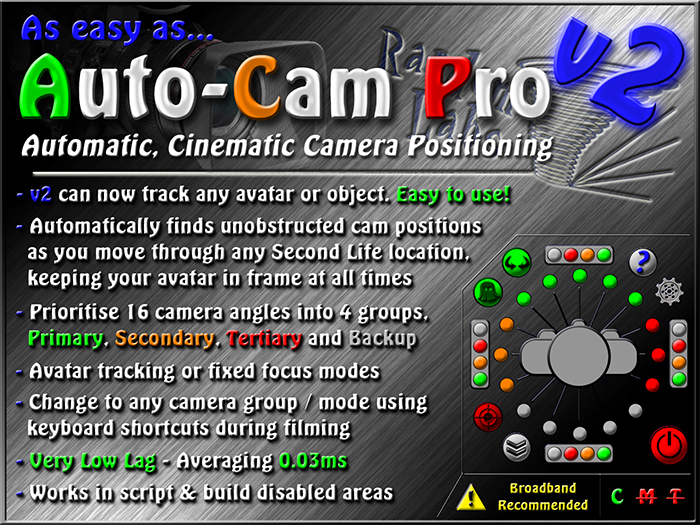
• Easy to use! ✔
• Perfect for Machinima, Role Play & Exploration ✔
• Automatically find unobstructed camera positions as you move through a scene ✔
• Panning and fixed focus modes ✔
• Keeps your avatar in frame at all times ✔
• Change camera group & mode with keyboard shortcuts during filming ✔
• Works in no-script areas and very low lag, averaging only 0.03ms when active ✔
————————————————————————————————————
ACP is the new essential time saving tool designed to aid you in creating machinima, filming events in SL or just for adding a cinematic feel to your role play and exploration. It can automatically find unobstructed camera positions as you move through a scene, keeping your avatar in shot at all times with no scene-specific setup needed at all! It also runs in no-script areas and is very low lag, averaging only 0.03ms when active, so you can use it anywhere in SL with minimum impact on the region.
► What does it do? ◄
As you move around in Second Life, the ACP HUD checks 16 camera positions surrounding your avatar, selecting those that have a clear, unobstructed view. As soon as your avatar moves out of one shot, it will select a new unobstructed view automatically. This will work even if you move inside a building, where the HUD will find a clear shot from within the walls. The results look like carefully planned and edited shots as you move around, but gives you the freedom to improvise where you go and get a lot achieved in a single take with minimal editing required! It's especially useful when filming events or exhibitions at locations where you might not have the freedom or time for elaborate scene setups.
► Using the HUD ◄
From the 16 available angles you can assign primary, secondary, tertiary and backup angles. If a primary angle is not available the HUD will choose a secondary angle; If a secondary angle is also not available, the HUD will chose a tertiary angle and so on. In the highly unlikely event that there are no available camera angles the HUD will clear the camera for a normal, behind the avatar view. You can also manually switch between primary, secondary tertiary and backup angles at any time by pressing 1, 2, 3 or 4 respectively (you must activate the provided gestures for this functionality).
► Panning and Fixed Focus ◄
With panning enabled, the camera focus will follow your avatar at all times. The camera will change when you move behind an object or out of the defined "Dist Change" range (see 'HUD Settings' below). With panning disabled, the camera focus will be fixed and the camera will also change when you move out of shot past the edges of the screen. You can toggle this button during filming by pressing '5' (you must activate the included gestures for this functionality).
► Phantom Check ◄
When enabled, "Phantom Check" will consider phantom objects as objects that obscure the view of your avatar. In some locations there may be phantom objects (such as long grass) that trigger unwanted camera changes and in those cases you may want to disable phantom check. On the other hand, you could also set up invisible phantom objects throughout a scene in order to trigger camera changes when you reach certain positions. You can toggle this button during filming by pressing '6' (you must activate the included gestures for this functionality).
► HUD Settings ◄
In the top right of the HUD is a settings button. Clicking this will pop-up a settings menu with 5 options...
Min range - This controls the minimum distance you want the camera to be positioned from your avatar.
Max Range - Controls the maximum distance for the camera position from your avatar.
Dist Change - When your avatar exceeds this distance from the camera position while still in shot, a new angle will be selected.
Height Offset - Change the camera positions to be above or below your avatar.
Focus Lag - Controls the speed the camera will pan to keep up with your moving avatar when panning is enabled.
If the text for each option is misaligned, 2 arrows on the right side of the settings window can adjust it.
► Help Button ◄
Also top right of the HUD you will find a help button. This will display information for all the buttons and extended info for individual button as you press them.
► Minimise ◄
Bottom left of the HUD is a minimise button allowing you to get the majority of the HUD out of the way. If you want to completely hide the HUD during recording you can use the alt-shift-h shortcut to hide all huds from your screen.